Thinking about listing your split-level in Wayne this winter or spring? You are not alone. Many local homes were built in the 1950s to 1980s, and their staggered levels can feel choppy if you do not stage them with flow in mind. In this guide, you will get a room-by-room plan that makes each level feel connected, bright, and easy for buyers to understand. Let’s dive in.
What makes Wayne split-levels unique
Split-levels in Passaic County often have a mid-level foyer, short stair runs, and either a sunken living room or an elevated dining area. Kitchens may be more segmented, and lower levels can have lower ceilings. Garages commonly connect to a mudroom or family room. Your staging goal is simple: clarify circulation, create visual continuity across levels, and show usable square footage without clutter.
Room-by-room staging plan
Entry and foyer
A clear, welcoming entry is critical in a split-level because it sets the path to the main living area.
- Remove shoes, coats, and extra hooks. Add a slim console or bench and a mirror to expand the feel.
- Use a low-profile, non-slip runner that fits the traffic width. Keep salt and moisture off floors in winter.
- Lighting: bright overhead fixture plus a small lamp on the console for evening showings.
- Photo angles: shoot from just inside the door toward the main living area. If space allows, take a second shot from the landing looking back to show context.
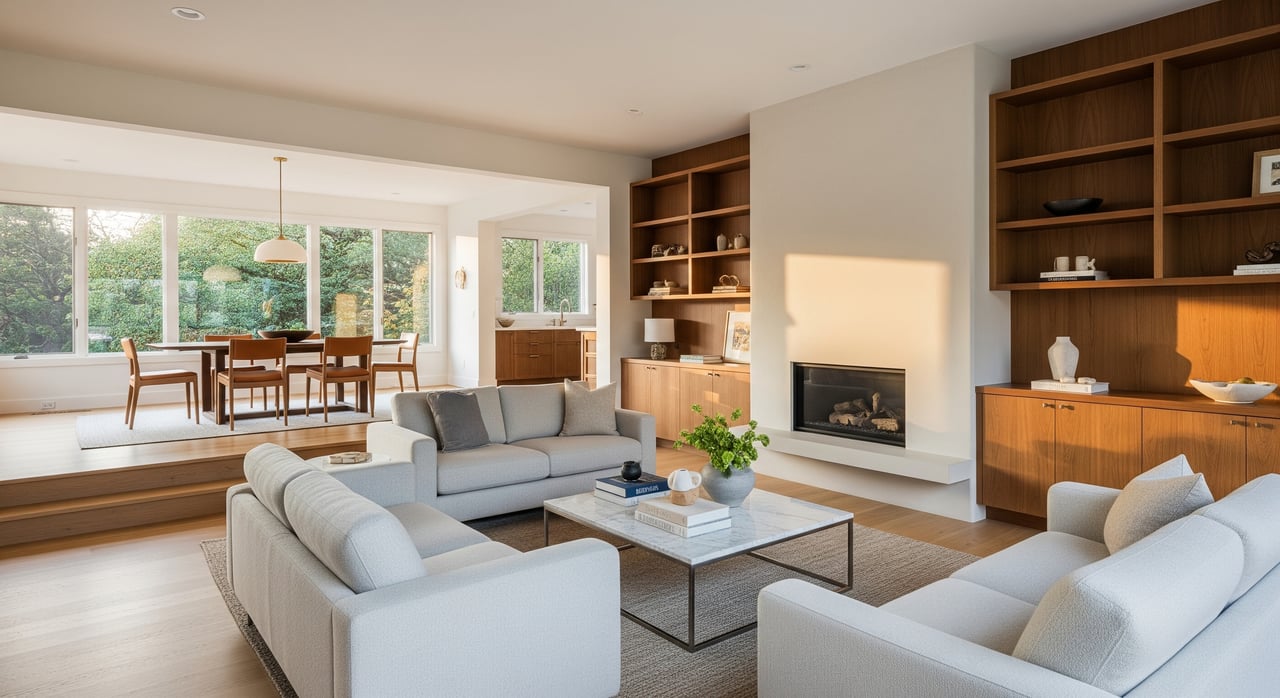
Living room, including sunken spaces
Keep this space open and connected to the stairs and dining area.
- Choose slimmer-profile seating. Avoid oversized sectionals that block sightlines or walkways.
- Leave 2.5 to 3 feet of space behind seating when possible. Keep coffee tables about 14 to 18 inches from the sofa.
- Float furniture to create a natural path around landings and steps.
- Lighting: layer overhead with floor and table lamps to eliminate shadows in sunken areas.
- Photo angles: corner-to-corner and one image that shows the relationship to the stairs or landing.
Dining area or raised dining
Help buyers see that the space is great for everyday meals and entertaining.
- Pick a table size that fits with 36 to 48 inches of clearance to walls or furniture.
- Keep the centerpiece simple. Consider minimal place settings for a lifestyle touch.
- Lighting: turn on pendants or chandeliers to warm the room.
- Photo angles: shoot from the living room toward the dining area to show connection, plus a wide corner shot.
Kitchen
Emphasize workspace, storage, and any connection to nearby rooms.
- Clear counters except one or two items such as a bowl of lemons or a vase.
- Refresh details. Clean hardware, recaulk where needed, and update fixtures if feasible.
- Organize visible cabinets and pantry shelves.
- Lighting: turn on under-cabinet and task lighting. Keep bulb color consistent with nearby rooms.
- Photo angles: shoot from a corner to show depth and include a view toward adjacent living space if possible.
Lower-level family room or basement
Make it feel like living space, not storage.
- Use right-size furniture, not oversized or too low to the floor.
- Add an area rug to define a seating zone and increase warmth.
- Keep mechanical and storage areas tidy and out of frame.
- Lighting: add floor and table lamps. LED puck lights can brighten dark corners.
- Photo angles: low to mid height shots to respect ceiling lines, plus a photo that shows how it connects to the mudroom or garage if relevant.
Primary bedroom
Create a calm retreat that feels spacious and tidy.
- Keep furniture to the essentials. If the room is compact, reduce extra dressers.
- Use neutral bedding with one accent color. Keep closets neat but not overstuffed.
- Leave 2.5 to 3 feet in walkways where possible.
- Photo angles: shoot diagonally from the doorway and include a view that hints at closet presence.
Secondary bedrooms or home office
Show versatility based on buyer expectations for the area.
- Consider staging one room as a home office if bedroom count is tight.
- Keep decor minimal and neutral. Highlight storage or workspace.
- Photo angles: use corner shots that show both size and function.
Bathrooms
Clean, bright, and simple always wins.
- Replace busy shower curtains with clear or neutral options. Remove extra products.
- Add fresh towels, small greenery, and refresh grout or caulk.
- Lighting: make it bright and even. Replace bulbs that cast a yellow tint.
- Photo angles: a straight-on wide shot from the doorway, plus a vanity detail if helpful.
Garage, mudroom, and laundry
Buyers value storage and utility.
- Box and remove excess items. Show shelving or potential storage solutions.
- Style laundry with a few clean accessories like folded towels.
- Photo angles: one clear shot per space that shows function and capacity.
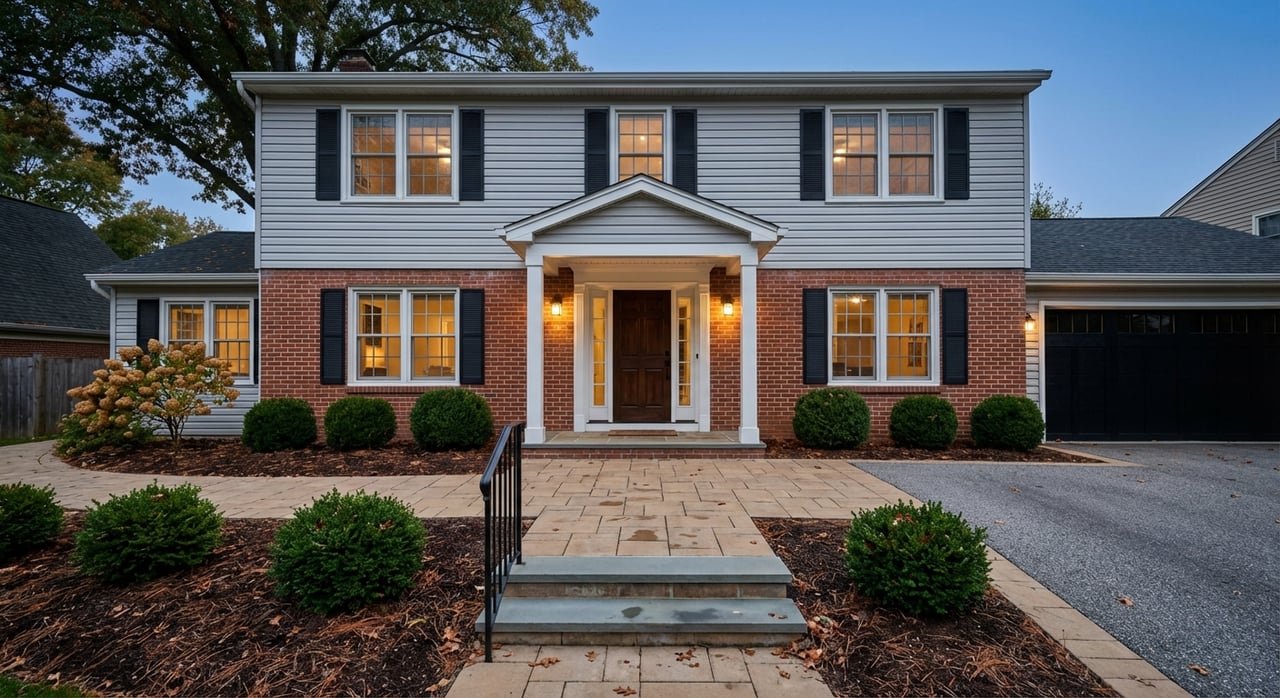
Exterior and curb appeal
Your exterior sets tone for the whole tour.
- Winter: clear snow and ice, salt the walkway, and clean any residue before photos. Keep the porch simple with a doormat and one seasonal accent.
- Spring: mow, edge, tidy beds, re-mulch, and stage deck or patio seating.
- Photo angles: a straight-on front shot, a 45-degree angle to show depth, a backyard view, and consider a twilight exterior if you can coordinate lighting.
Lighting and photo basics for split-levels
- Use layered lighting in every room. For in-person showings, choose warm bulbs around 2700 to 3000 K.
- Pick LED bulbs with a high color rendering index (CRI above 90) so finishes look accurate.
- For photos, turn on all lights and open blinds. Shoot at about 4 to 5 feet height to avoid distortion and keep ceiling lines straight.
- Use corner-to-corner compositions to show depth and to explain how staggered levels connect.
- Twilight exteriors can be effective if interior and pathway lights are on and timed correctly.
- If you use virtual staging, disclose it and keep an unedited image in the listing too.
Six-week prep calendar
Weeks 6 and 5: repairs, declutter, deep clean
- Fix safety and repair items such as handrails, smoke detectors, and small leaks.
- Deep clean carpets and windows inside and out.
- Declutter each room. Remove extra furniture and personal items. Consider a small storage unit.
- Paint touch-ups or neutral paint in the entry, living room, kitchen, and primary bedroom.
- Schedule any needed contractor work.
Weeks 4 and 3: staging and curb work
- Arrange furniture per this plan to improve flow between levels.
- Add lamps or fixtures in dark corners. Replace mismatched bulbs with high-CRI LEDs.
- Exterior: clean gutters and walkways. Add fresh mulch in spring or ensure clear, salted paths in winter.
- Hire a photographer who understands multi-level homes and schedule the session.
Week 2: final touches
- Deep clean again and set simple, fresh accents for photos.
- For winter, set a boot tray and washable mat near the entry.
- Remove personal photos and collections from view.
- Confirm photo-day timing, lighting plan, and any twilight shots.
Week 1 and listing day: showtime
- Turn on all lights for photos and showings. Open window coverings to maximize natural light.
- Set thermostat to a comfortable temperature. About 72°F in winter works well.
- Winter: clear driveway and walks before every showing. Store shovels and salt out of sight.
- Spring: stage porch and patio seating after photos.
- Prepare a folder with manuals, service records, and a quick inventory of items removed for staging.
Seasonal checklist: winter vs spring
Winter showings
- Keep entry dry with a mat and boot tray. Add towels to handle snow or slush.
- Use warmer bulb temperatures for a cozy feel and add lamps in darker rooms.
- Clear snow and ice and remove leftover salt for photos.
Spring showings
- Power wash light grime from siding and walkways. Clean windows.
- Plant early blooms or add potted plants. Freshen mulch.
- Highlight outdoor living with staged seating on the deck or patio.
Quick shot list for your photographer
- Exterior: front straight-on, front 45-degree angle, backyard or deck, driveway.
- Entry: from the front door into the main level, and from the landing showing the stairs.
- Living room: corner-to-corner and one feature detail such as a fireplace or built-in.
- Dining: from the living room looking through, plus a wide shot of the table.
- Kitchen: wide from a corner showing counters or island and any view to living areas.
- Primary bedroom: doorway shot and a diagonal corner-to-corner.
- Bathrooms: doorway wide plus a sink or tile detail.
- Lower level: wide shot showing the connection to stairs and separation from utility areas.
- Garage, mudroom, and laundry: one clear shot each showing function and storage.
Costs and logistics
DIY staging can work for motivated sellers who have time and storage. Professional stagers bring optimized furniture placement, lighting, and accessories, which is especially useful for complex floor plans like split-levels. Pricing can vary by metro area and project size. Get two to three local quotes if you plan to rent furnishings or hire a staging company.
Book your stager and photographer early, ideally three to four weeks ahead. For spring listings, try to schedule exterior photos for a clear day. For winter, coordinate snow removal so curb appeal shows. If you are moving items to storage, label boxes and group them by room to simplify the move.
Work with Anthony — Certified Home Stager
Anthony is a Wayne native and a Certified Home Stager who helps you create a clear, room-by-room plan tailored to split-level living. He focuses on furniture scale, lighting, and flow between levels, and he coordinates photo-day styling so your listing shows its best. As a local listing specialist backed by Howard Hanna | Rand Realty, he pairs neighborhood insight with professional presentation.
Ready to prep your split-level for the Wayne market with a staging plan that fits your home and timeline? Reach out to schedule a walk-through and personalized plan with Anthony Jordan.
FAQs
How do I stage a split-level foyer for Wayne buyers?
- Keep it clear and welcoming with a slim console or bench, a mirror to expand the feel, a non-slip runner, and layered lighting that guides visitors to the main level.
What bulb color temperature should I use for showings and photos?
- Use warm bulbs around 2700 to 3000 K for showings. For photos, keep color temperatures consistent and let your photographer balance white tones as needed.
How much space should I leave around seating and tables?
- Aim for 2.5 to 3 feet around living room seating and 36 to 48 inches around the dining table. Keep coffee tables 14 to 18 inches from the sofa.
How do I prepare for winter showings in Passaic County?
- Clear snow and ice, salt the walkway, hide tools before photos, add a boot tray and absorbent mat inside, and use layered warm lighting to brighten darker rooms.
Can I DIY staging for a split-level, or do I need a pro?
- You can DIY if you have time to declutter, paint, and edit furniture. A professional stager is helpful for split-level flow, lighting plans, and photo styling, so consider getting a local quote.
Which listing photos matter most for a split-level in Wayne?
- A clean exterior front, an entry shot that shows stair flow, corner-to-corner living and dining images, a kitchen wide with adjacent view, the primary bedroom, bathrooms, and a lower-level wide shot that shows usable space.